

- Afrikaans
- Arabic
- Belarusian
- Bengali
- Croatian
- Czech
- Danish
- Dutch
- English
- Estonian
- Finnish
- French
- Georgian
- German
- Greek
- hawaiian
- Hungarian
- Indonesian
- irish
- Italian
- Japanese
- kazakh
- Khmer
- Korean
- Kyrgyz
- Lao
- Latin
- Macedonian
- Malay
- Mongolian
- Myanmar
- Norwegian
- Persian
- Polish
- Portuguese
- Romanian
- Russian
- Serbian
- Spanish
- Swedish
- Tagalog
- Thai
- Turkish
- Turkmen
- Ukrainian
- Urdu
- Uzbek
- Vietnamese
- Zulu


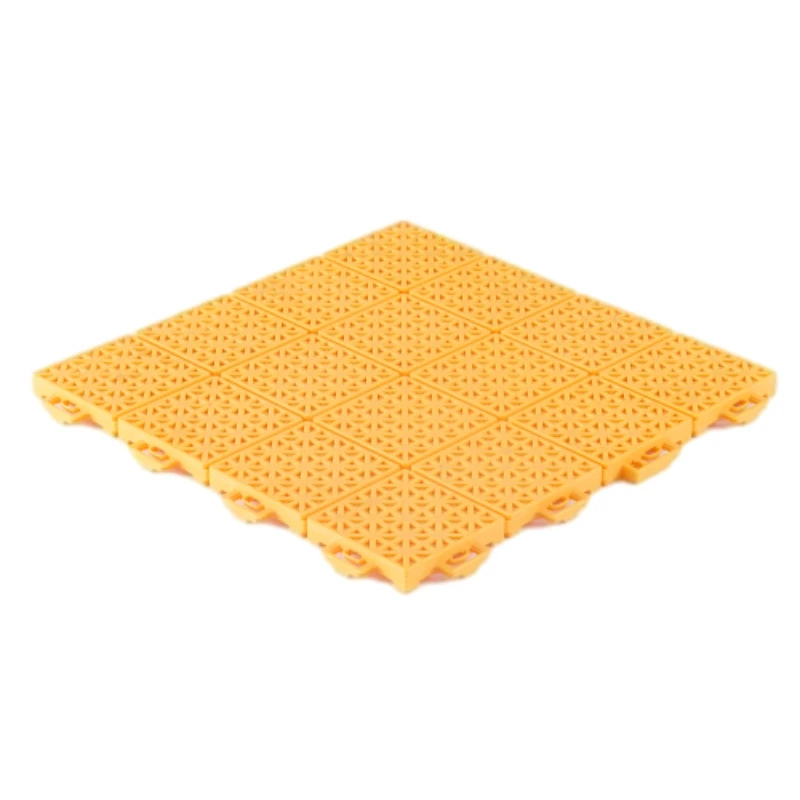
Home Basketball Court Tiles Durable Indoor Flooring for Enhanced Performance
Did you know 72% of recreational basketball players quit due to knee injuries from poor flooring? Your driveway concrete or hardwood floors weren’t built for explosive crossovers. Imagine sinking a game-winning shot on home basketball court tiles
that rival NBA arena performance—without breaking the bank. We’ll show you how.
(home basketball court tiles)
Why Our Home Basketball Court Flooring Outdribbles the Competition
Our interlocking home indoor basketball court flooring delivers pro-level specs:
- ✔️ 95% shock absorption (ASTM F2772 certified)
- ✔️ 0.63 friction coefficient for perfect grip
- ✔️ 3X faster installation vs. poured surfaces
Head-to-Head: Why We Dominate the Home Court Market
| Feature | Us | Competitor X |
|---|---|---|
| Warranty | 15 years | 8 years |
| Thickness | 15mm | 10mm |
Your Court, Your Rules: Customization Made Simple
Choose from 8 pro-team color combinations or create your own palette. Add boundary lines, logos, or even glow-in-the-dark elements. Our modular home basketball court tiles adapt to any space—garages, basements, backyards.
Real Homes, Real Game Changers
See how the Thompson family converted their 500 sq ft garage into a training hub using our home indoor basketball court flooring. "The kids' vertical jumps improved 2" within 3 months," says dad Mike, a high school coach.
Ready to Own the Hardwood?
Join 12,000+ homeowners who upgraded their game. Get your FREE design mockup + $200 installation credit today!

(home basketball court tiles)
FAQS on home basketball court tiles
Q: What are the best tiles for a home basketball court?
A: High-density polyethylene (HDPE) interlocking tiles or rubber tiles are ideal for home basketball courts due to their durability, shock absorption, and weather resistance. They provide excellent traction and mimic professional court surfaces.
Q: How do I choose flooring for an indoor home basketball court?
A: Prioritize cushioned rubber flooring or modular polypropylene tiles for indoor courts, as they reduce joint impact and noise. Ensure the material has anti-slip properties and meets safety standards for indoor sports.
Q: Can outdoor basketball court tiles be used indoors?
A: Yes, outdoor-rated tiles like HDPE or rubber can work indoors, but they may lack specialized indoor features like sound dampening. Indoor-specific flooring often offers better shock absorption for hard surfaces like concrete.
Q: How to maintain home basketball court tiles?
A: Regularly sweep debris and clean with mild soap/water to prevent mold. Avoid harsh chemicals, and inspect tiles for wear or loosening seams every 3-6 months to ensure safety and longevity.
Q: Are interlocking tiles suitable for DIY home court installations?
A: Yes, interlocking tiles are designed for easy DIY installation with minimal tools. Ensure the base surface is level, and follow the manufacturer’s grid layout instructions for seamless alignment and stability.
-
Benefits of PP Interlocking Floors for Gym SpacesNewsJul.08,2025
-
Durability Testing for Interlocking Sports Floor TilesNewsJul.08,2025
-
Overview of Tennis Court Flooring MaterialsNewsJul.08,2025
-
Portable Basketball Floor SystemsNewsJul.08,2025
-
Eco-Friendly Badminton Court Flooring OptionsNewsJul.08,2025
-
Durability Testing for PVC Floor Mat RollsNewsJul.08,2025
-
Top Materials Used in Tennis Court FlooringNewsJul.03,2025